Simple Git Workflow
On the past I have difficulty using git because there are so many git commands. Today I will tell you a simple git workflow, because there are so many ways people using git for their project, and here is mine.
Prerequisites
- Github account
- Git installed
- Working internet :-)
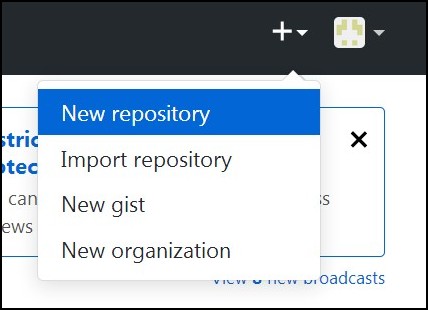 Once you log in into your GitHub account, you will find “+” button on top right corner. Press that button then click “New repository”
 After you click that button, you will directed to “Create a new repository page”. On this page there are so many buttons to choose, so I will explain them one by one.
- Repository name - The name of your repository or the name of your project. I use “learning-git” for example. Note that you can’t use spaces on repository name, so I use “-“ here.
- Description - The description about your project. I leave the blank but you should use it to write what is the intention of your project. For example “Simple password manager”
- Public/Private - Project created on GitHub can be for public or if the project shouldn’t be seen seen by people (for example, the project should be seen only by your team or your manager), you can use private option.
- On GitHub you can set up README files. It is the files that contains anything about your project, like why you created the project, how to contribute to this project, what is the software functions, etc.
- You have option to add .gitignore file. .gitignore file is a file that git system will ignore. For example, you have a habit of writing to do list of the project on the project folder, but you don’t want that to do list to be uploaded. Or maybe it is cache files or your text editor’s configuration files. By adding those files into .gitignore, git will ignore those files so it would not be uploaded. I don’t have any files that need to be ignored, so I did not add .gitignore file.
- Add a license - If your projects need license you can use it, this is just an example repository, so I don’t add any license.
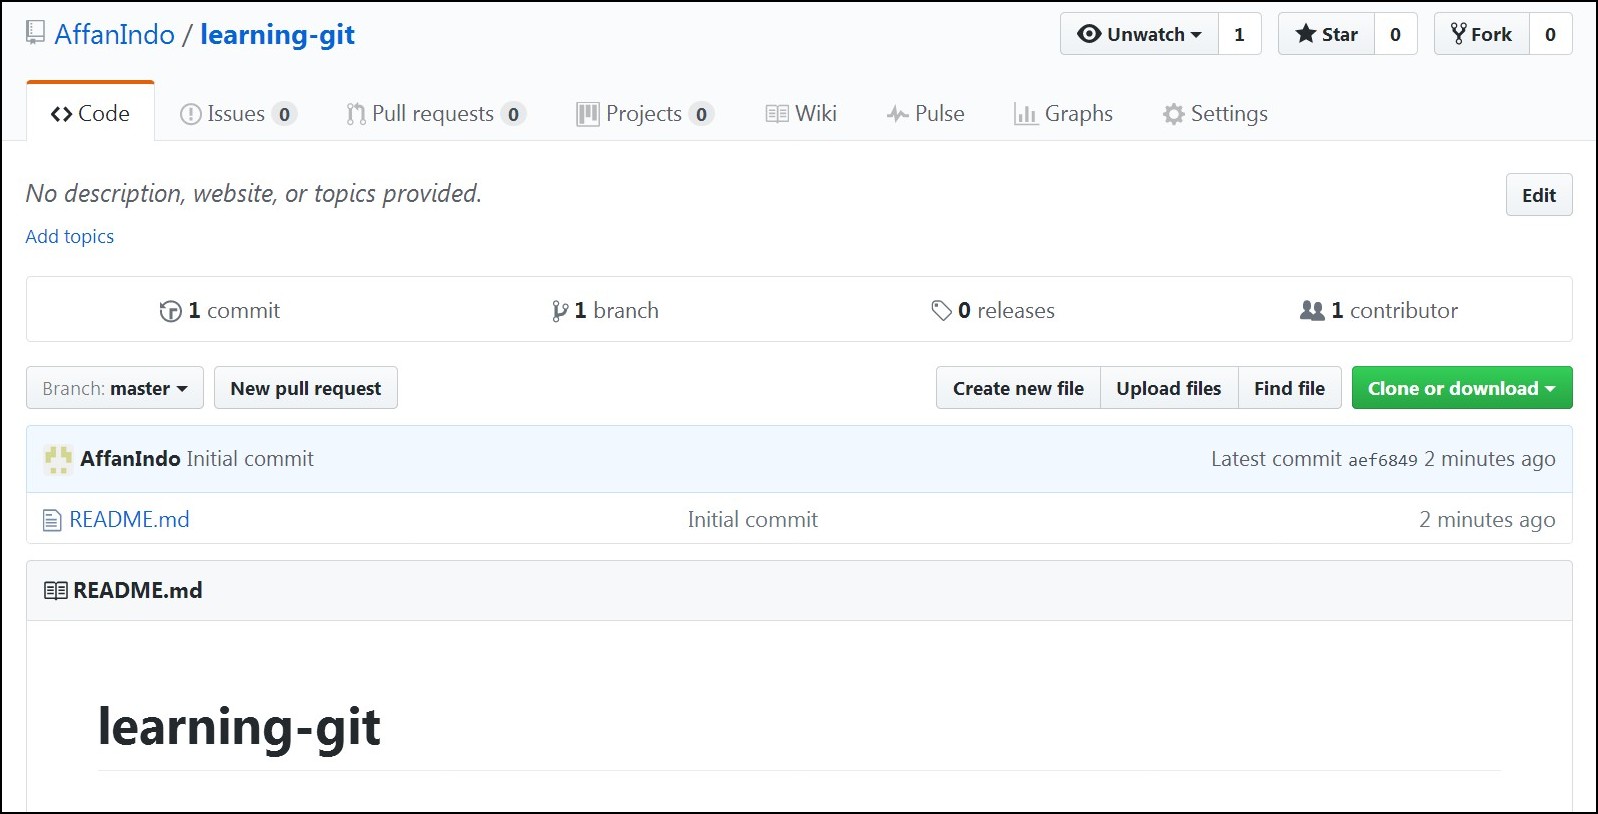 After you create the repository, this is the repository page. It contains the content list and show you your README files.
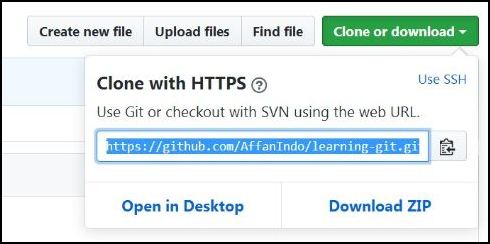 After your repository is done, you should clone it to your hard drive by clicking that large green button and then copy the link.
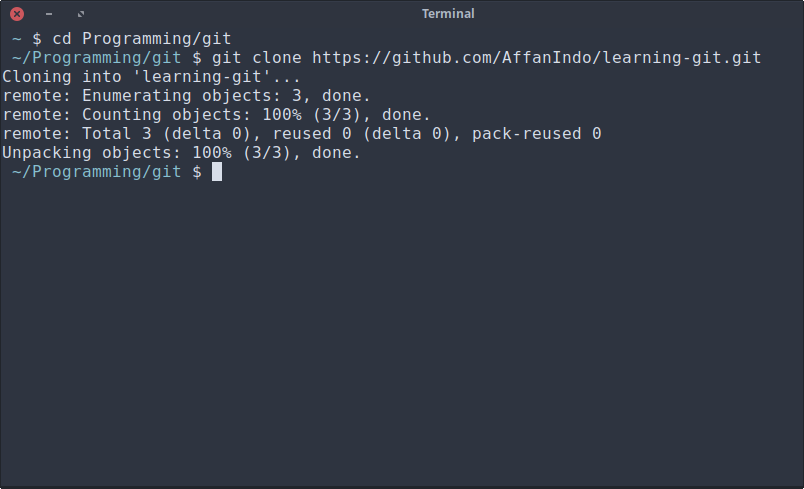 Open up your terminal then go to your programming folder, for example mine is in
 ~/Programming/git. Then type
git clone <link>
This first git command is for saving (cloning) your project from GitHub website to your local hard drive.
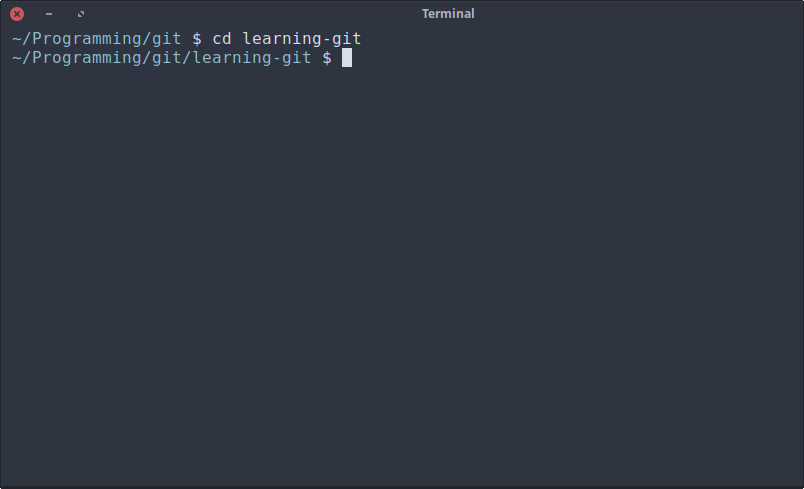 After the cloning done, you can see your project name is in the folder now. Then go to your project folder by typing
cd <project name>
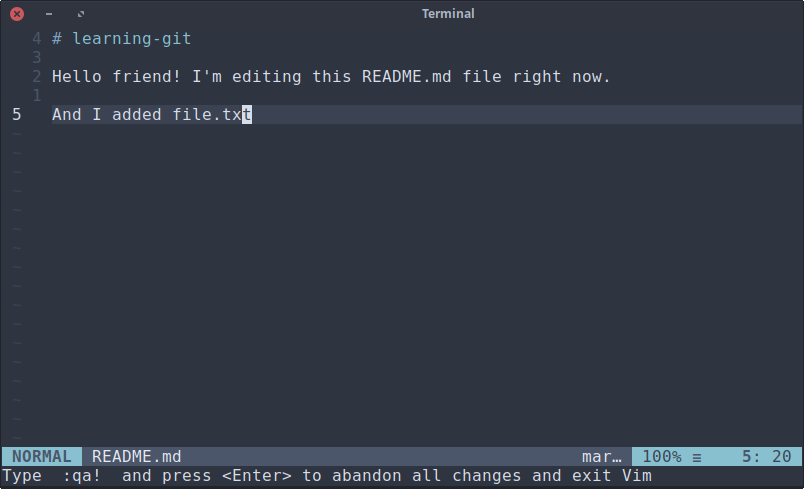 After you are in your project folder you can edit the files. For example, I add files named files.txt and editing my README.md file
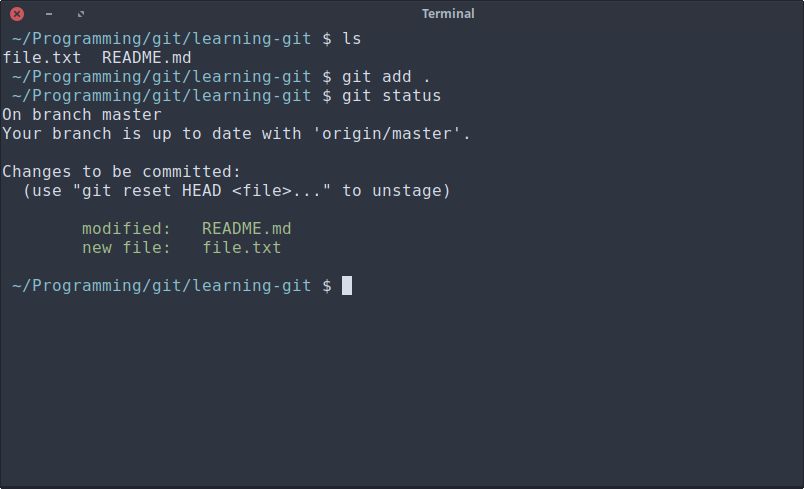 After you finished meddling with your project, it is time to “save” your project. When using git, you did not just save the files normally, but you must “add” them then “commit” them so git take a note what you add and what you remove. Type
git add .
Don’t forget the dot. . means you want to add everything on this folder.
git status is a command to show you the status of the files. This is an optional command.

git commit -m "message"
-m means you want to add commit message, so you can keep track of what you’ve edited. Keep a simple title for the commit message, for example I write “edited README.md and add files.txt”, Pretty simple and understandable message.
After you commit them, you want to push them back to GitHub. You can do that by typing
git push
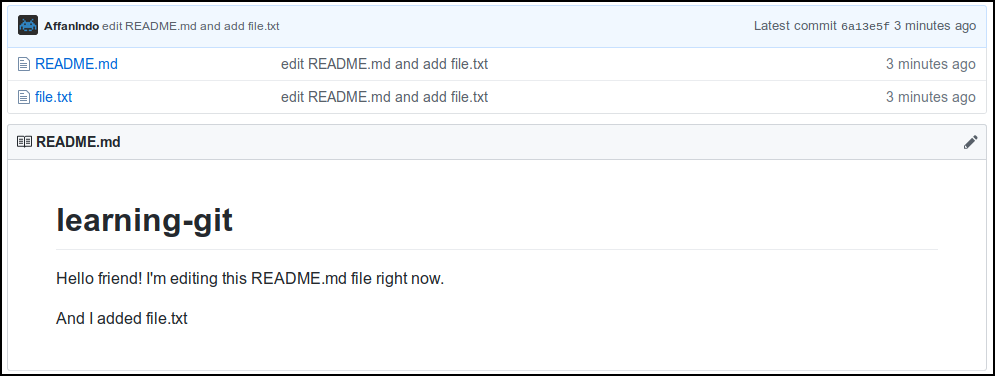 And your project is done!
Sum it up
- Create the repository
git clone <link>- Edit the files
git add -Agit commit -m "message"git push
Okay, that’s it! every time you make edits, just do the 4, 5, and 6 command.
Happy programming!