My Screencast Workflow
Hello guys, today I will explain to you how do I make my video. This blog post intended for my notes. My advice if you want to create a video is to do it right away, don’t wait until you have a good equipment. This is a quote that I love:
Gear is the ultimate procrastination” - Max Joseph
The meaning of this quote is most people wait until they got a good set up to screencast thinking they are good because they are saving the quality BUT actually they are just plain lazy to do a screencast. If you want to do a screencast then do it :) you can upgrade your gear along the way.
Microphone
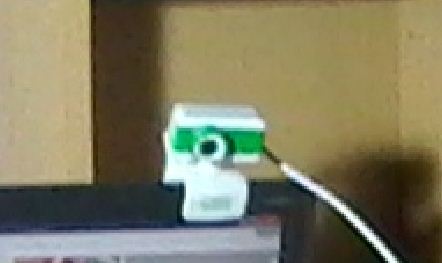
 To be honest, I don’t have a proper microphone so I use the thing that I have. I use a webcam, I got this as a present because I am able to answer some question in some random seminar LOL. At first I thought about recording it in phone then transfer it to PC but I think it is too much work so I use this instead. The audio quality is not that good but I fix that in audio editor, easy. The downside is I can’t do a facecam because I had to hold the webcam as close to my face so my voice will be loud. But I don’t do a facecam so it does not matter.
Screen Recording Software: OBS
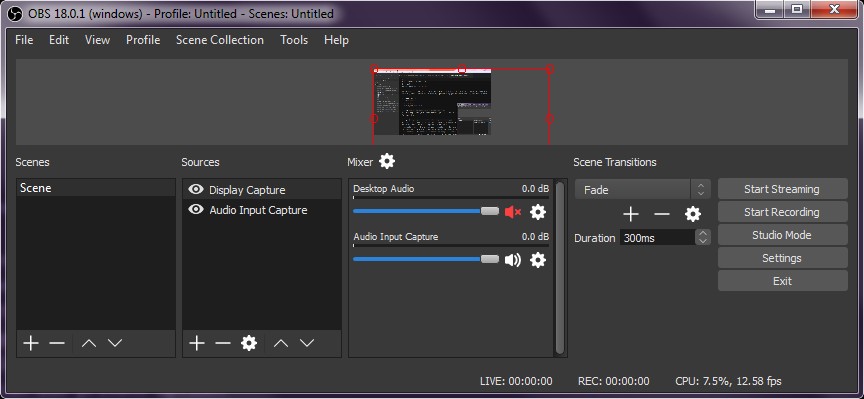
 This is the screen recording software that I use. This software is intended for streaming (twitch, youtube live, facebook live) but it is also great as screen recording software. My internet is dependent on my quota so I tried to make the video size as small as possible, therefore on ‘Settings > Output’ I set the Video Bitrate from 2500 to 1000 and the recording format to mp4. This reduce the video size greatly. The downside of OBS is it does not have any editing features so you have to use a video editing software. OBS also did not have a pause feature. So I just record many little scenes then concatenate them all in video editing software.
Video Editing Software: FFmpeg
Yes. I also doesn’t have a proper video editing software. That’s why I use FFmpeg. I’ve tried free video editing software but it just doesn’t work properly. And I also try to avoid costly video editing software because I only need basic features. FFmpeg is a command line tool so you have to write or remember the command to use it. I use many long command so I wrote it down, like this blog.
The first thing I want to do after recording many small segment is to concatenate them together. But first I should make a list of the thing that I want to concatenate, you can do it by using this command. FFmpeg also concatenate them together by the list order, fortunately OBS saved the video by date so it already in order.
for f in ./*.mp4; do echo "file '$f'" >> mylist.txt; done
After you created the list then just feed that list to FFmpeg so it will concatenate them together.
ffmpeg -f concat -safe 0 -i mylist.txt -c copy output.mp4
Finally you get output.mp4 which is the final video. But we want to edit the audio first. Maybe you want to remove the sneeze, or make your voice more bass, etc. To extract audio from video you simply use the command to convert mp4 to mp3.
ffmpeg -i filename.mp4 -b:a 410000 filename.mp3
At this point I jump to audio editing to edit my stuff, but the final step is in FFmpeg. I use this command to replace the audio in video with the new audio that I just edited, so I use this command after using Audacity, not after previous command. Make sure the filename matches the command.
ffmpeg -i v.mp4 -i a.mp3 -c:v copy -map 0:v:0 -map 1:a:0 new.mp4
Audio Editing Software: Audacity
 This is our lovely audio editing software :)))))
The first thing I do is removing the noise by using ‘Noise Reduction’. My microphone is not a good one so it pick up outside noise like rain or fan, if you doesn’t have a good microphone but want a good result I suggest you to turn off the thing that make noise. But I love my fan so I use audacity to remove the noise. After I remove the noise I just increase the bass or some treble to make my voice sounds better. After this I export the file then do the last command on FFmpeg section on above :)
… And that’s it :) Very simple and I got all of this for free, you don’t need 1000$ microphone or Ad*be product just to do a simple screencast. I hope this helps you :)