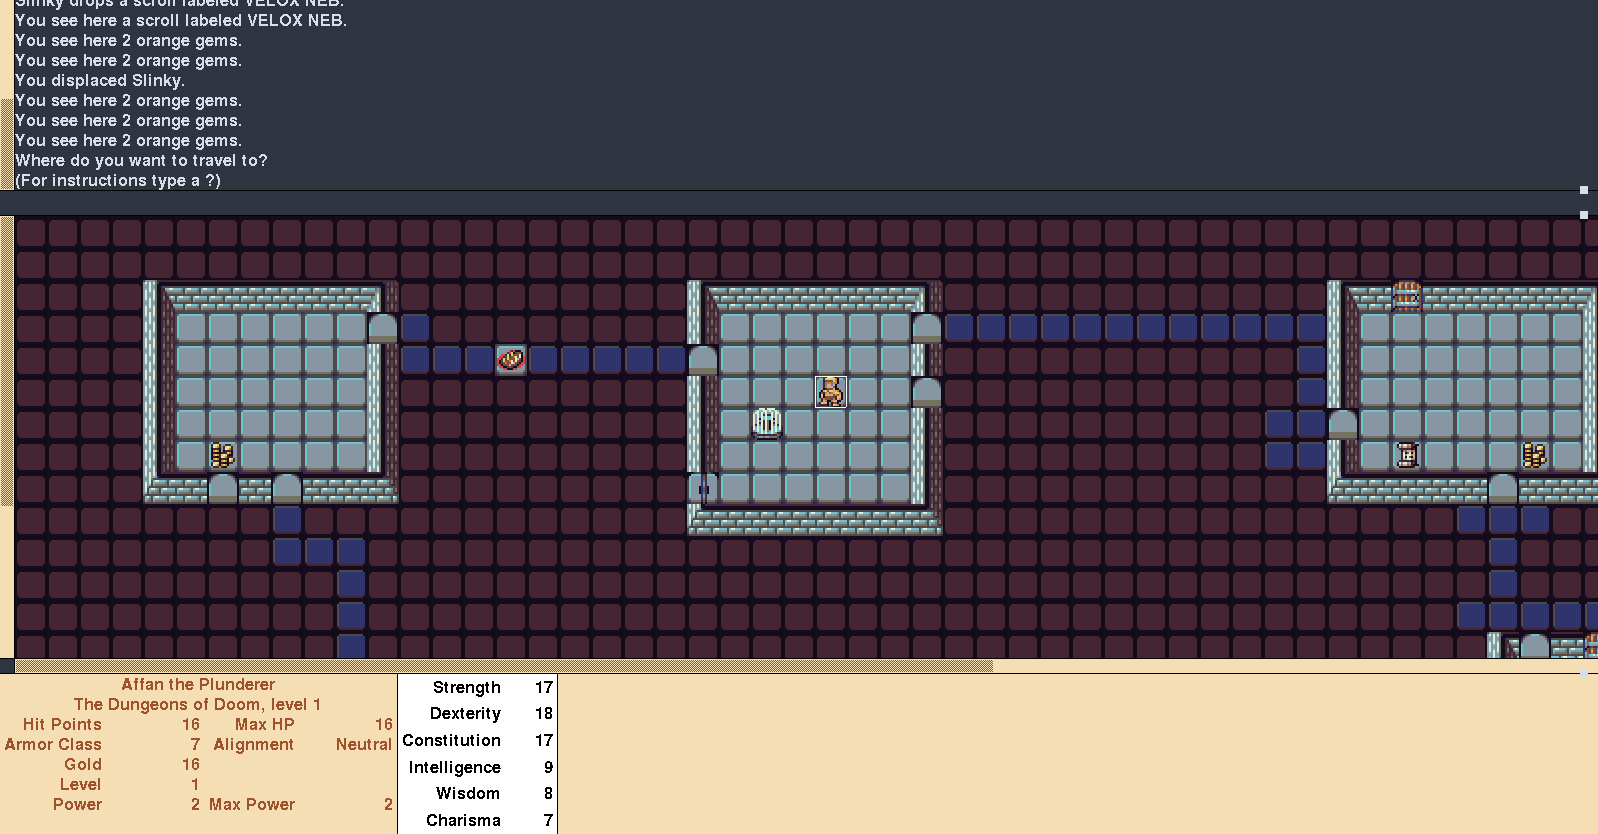
Install Tileset in Nethack X11

Recently I’ve been hooked to a game called Nethack, it is really fun. Usually I play it in my Linux desktop, but recently I’ve been playing it in my Android phone. There is a slight problem, though. On Android, the Nethack have a graphic meanwhile in the PC version it doesn’t. I can easily fix it by installing nethack-x11. But the default tileset is ugly and I’ve been trying for 2 hours to change the tiles. So here we go.
First of all download a tileset. I like this one so I download it.
The problem with online tutorials is they are not consistent. One saying I should dump the config in /usr/share/games/nethack, the other one said /etc/nethack, and so on. But I fixed it by putting the file in /usr/share/pixmaps/nethack and no tutorial mentioned this folder. I found it by myself.
On my computer, the default nethack tileset is in /usr/share/pixmaps/nethack. If you looked at this folder, you can see:
mapbg.xpm
pet_mark.xbm
rip.xpm
x11tiles
The tileset called x11tiles and the file format is .XPM even though you can’t see that in the file name.
You have to copy your tile set to here by moving it directly. But the file is still in BMP. Then we change the format from BMP to XPM by running convert FILE.bmp FILE.xpm Change FILE to suit your downloaded file.
Now we have 2 tileset. One is the one you downloaded and the other one is x11tiles. Rename the x11tiles to something else. Now after you’ve renamed the old tileset, rename the downloaded tileset into x11tiles. If you are confused. Look at graphic below. Your file should looks like this:
mapbg.xpm
pet_mark.xbm
rip.xpm
x11tiles              <--- Downloaded tileset
x11tiles_OLD          <--- The default tileset
Now if you open NetHack, it should use the new tileset :)