First Look at BunsenLabs
I love light Linux distribution, one of them is CrunchBangPlusPlus. On the past, there is this distribution called CrunchBang. It is a nice small distribution, but it is discontinued. Then there is CrunchBangPlusPlus which continues the CrunchBang legacy. For quite some time, there is no update at all from CrunchBangPlusPlus community, they eventually update CrunchBangPlusPlus to Debian 9, however I found BunsenLabs before that.
In case you don’t know, CrunchBang, CrunchBangPlusPlus, and BunsenLabs is a minimal distribution that use OpenBox and light application. If you got tired of bloated distribution, or maybe something too barebones like Arch scares you, you might like this distribution. Today I tried BunsenLabs and I will tell you how my experience with it.

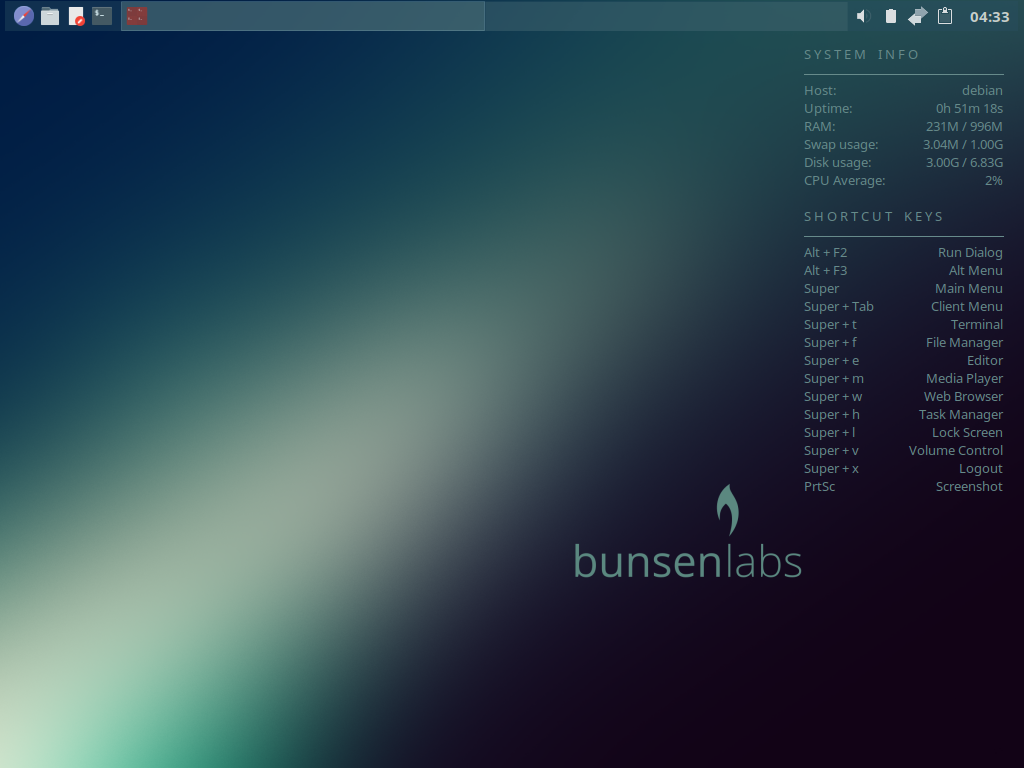
Right from the beginning, I was greeted with a nice and clean layout. The desktop is clean and has minimal clutter in it. The wallpaper is a nice blue-purple blur. Also, the conky matches the wallpaper and the mood of the desktop perfectly. The conky not only adds a nice touch to the empty desktop, but also give a nice shortcut to make user experience a bit better.
The bar on top left has a “browser”, it is actually Mozilla Firefox. I was confused at first because I thought that was global menu or something. Apparently it is a shortcut to default browser (which is Mozilla Firefox) The icons on the bar are not really descriptive. The one beside browser said BL File Manager (File Manager) when actually it’s thunar. Maybe they made it like that because not everyone knew what thunar is. But still, they could’ve written File Manager instead of BL File Manager (File Manager).
The default terminal in BunsenLabs is terminator. Kind of odd choice, usually the default terminal is not the heavy one with bells and whistles. I think it’s because the original CrunchBang used terminator as its default terminal (CMIIW), also they did some voting with the community members. Personally, I like urxvt but I think that’s not for everyone. Other than that, I think it’s better if they put a simple light terminal like xfce4-terminal or lxterminal considering they also borrow parts from XFCE like xfce4-power-manager already.
The wide space between icon and tray bar filled with 2 workspaces. Usually workspace button located on corner, but this one spanning wide. We can also see the icon of opened apps on the workspace button, there is no app name shown.
The tray is quite simple and doesn’t have too much stuff in it. It has volume, battery (xfce4-power-manager), etc. The necessary stuff. However, there is clipboard manager (clipit). All my life I’ve never seen a distribution that has clipboard manager turned on by default. Usually it is hidden on startup application or something, because not everyone uses that. I still don’t know how to use clipboard manager, haha.

The menu bar is thin. But I don’t like how they put every single button on there, though. For normal people, exit, resize, and minimize is enough. But they also put roll-up and lock button there. It is quite unusual because usually they are hidden and you could access those via right-clicking the menu bar.

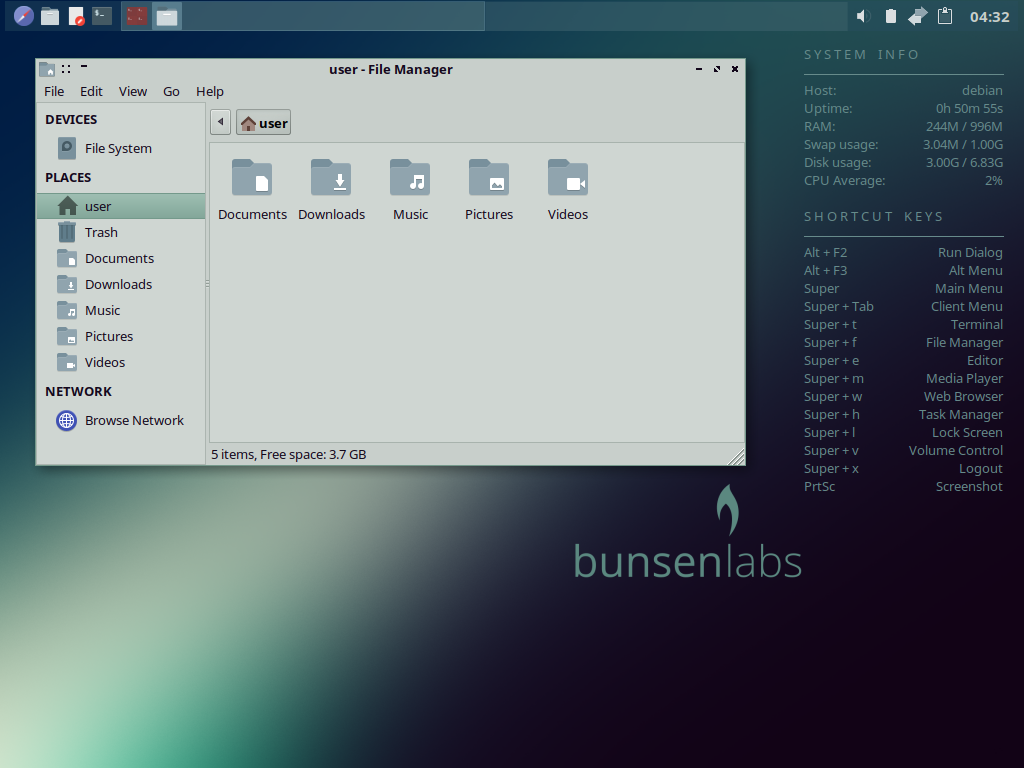
The default GTK theme is quite clean. I love that flat gray color. There is also a touch of green to spice up the theme. It reminds me of redmond GTK theme (or cough Windows 2000 cough), but it is flatter and the green tint are quite nice.
The default text editor is geany. There is vi (actually it is vim aliased as vi. You can’t type vim somehow, weird) and nano as well. As a vim user I found it’s odd that nowadays vim is aliased to vi, so there is actually no vi, and you can’t type vim to launch vim, you need to launch it by typing vi. I think I need to check the alias configuration file first to see how it works.
The standard system utility is quite unique. Because usually we see GNOME apps on GNOME distribution, or KDE apps on KDE distribution. Here we can see something not integrated together because OpenBox is a simple WM. It has catfish for file search, I guess they have it because thunar couldn’t search files like nautilus. It also didn’t have system monitor like normal distribution because usually they are integrated into the DE. BunsenLabs has htop as its system monitor. So, if you launch the system monitor, it will open terminator and open htop inside. For screenshot tool, it has both xfce4-screenshoter and scrot. I really love xfce4-screenshoter because it can upload to Imgur directly, good for Reddit.
For media player, I expect mpv, but it actually has vlc! The menu is barebones, there are only simple stuff there. But if you want extra apps there is install button on the menu directly if you want to install something like mpv, audacious, or some other extra stuff.
The default browser is firefox. It has filezilla too as ftp client, it uses transmission for torrent, and hexchat for irc. I think this is the standard internet toolset on almost all distribution, although the firefox is ESR version, because Debian.
For office suite, it has libreoffice. I was shocked at first because BunsenLabs is very light, why do they have big heavy software such as libreoffice? Turned out they only packed LibreOffice Writer there.
That’s it! The distribution is really simple, I love it. But the home folder is quite cluttered because of the initial script, and there is some additional folders of screenshot and wallpaper because BunsenLabs has scripts for scrot on the menu.
It’s refreshing and simple. I recommend it to anyone that wanted to have distribution that uses apt, stable, and light. That’s it! See you on the next post.
Guest Additions
Since I tested it on VirtualBox, here is the tutorial to install the Guest Additions for BunsenLabs. I will copy the instruction here.
Open the terminal and type:
sudo apt-get update
sudo apt-get upgrade
sudo apt-get install dkms build-essential linux-headers-$(uname -r) module-assistant
sudo m-a prepare
Reboot.
In the windowed menu at the top of the VB frame, select “Devices” then “Insert Guest Additions CD image…”.
In Thunar, open the media/cdrom location. CTRL+a to select all and CTRL+c to copy. Choose a location to drop these files. For me, I just create a VBGA folder in Downloads. CTRL+v to paste.
Open terminal and cd to the files directory, then type:
sudo ./VBoxL*
Let it run and reboot. You should have a resizable screen and all the other bells and whistles GA brings once it’s booted to desktop.
ADDITIONAL INFO: Shared folder might not work because permission error. If this happen, follow this guide. I use the second way because it’s easier. Just type sudo adduser $USER vboxsf in your terminal.
Post-Installation
I use this article for general post-installation things to do. Read this article with a little pinch of salt. Don’t do everything, just pick anything you like.
For theme, I follow this Reddit thread.
For privacy, since BunsenLabs use Firefox, I use this article and this article for tightening up Firefox a little.
The packages I installed are: git, ranger, and rxvt-unicode. Also, I changed the default terminal by typing sudo update-alternatives --config x-terminal-emulator. I purged vim-tiny by sudo apt-get --purge autoremove vim-tiny and replaced it with regular vim by sudo apt-get install vim. Surprisingly, they have their own .conkyrc that has predefined value and several alternatives commented out. They also symlink .themes, .fonts, and .icons if you want to add your own. Any wallpaper puts into ~/Pictures/wallpaper will show up in nitrogen too. I think I kinda gets it how this distro works now :)
That’s it! See you next time~